Introduction
Tired of struggling to cut perfect shapes for your handmade cards? Want to add intricate, professional-looking details with ease? Then it’s time to discover the magic of cutting dies! These clever tools are a game-changer for paper crafters, allowing you to create flawless, complex shapes in seconds. This beginner-friendly guide will walk you through everything you need to know to start using cutting dies for your cardmaking projects.
What You’ll Need: The Essential Tools
Before we start, let’s gather your supplies:
-
Cutting Dies: The metal stencils of your shape. They can be simple circles or intricate florals.
-
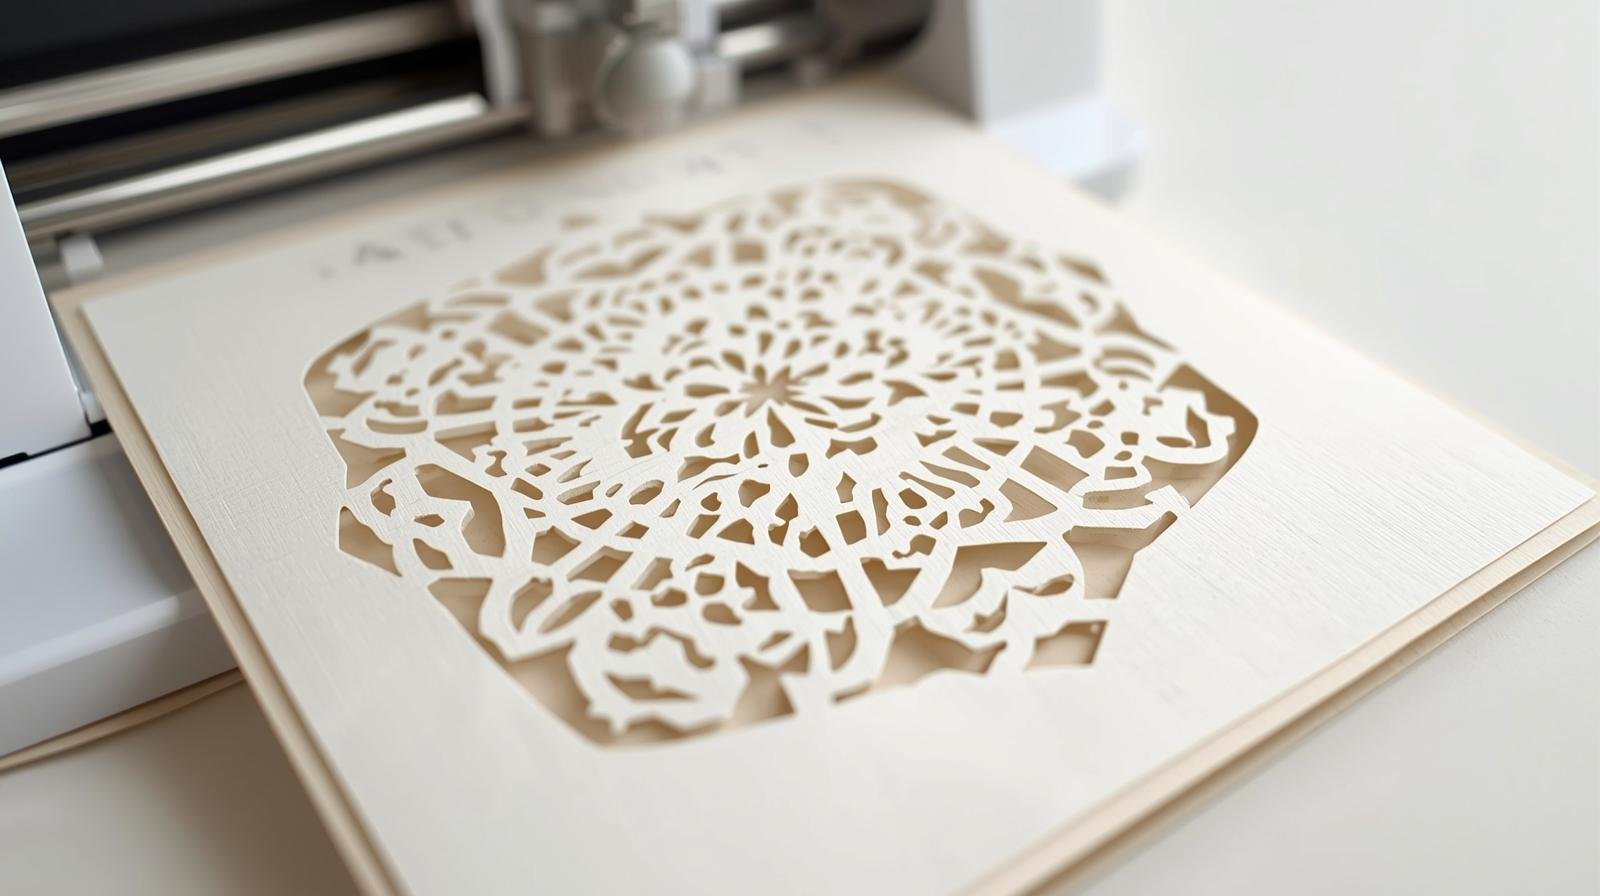
Cutting Machine: This is the machine that applies pressure to the dies. Popular models include those from brands like Sizzix, Spellbinders, and Wafer.
-
Cutting Plates: These are the plastic plates that sandwich your materials and go through the machine. Always follow your machine’s specific instructions for plate order.
-
Cardstock or Paper: Your primary material for the card shapes.
-
Tool Pick or Tweezers: For easily removing the delicate cut shape from the die.
-
Double-Sided Tape or Glue: For assembling your card.
Step-by-Step Guide: Using Your Cutting Dies
Follow these simple steps for perfect results every time.
Step 1: The “Sandwich”
The most crucial step is building the correct layer “sandwich” for your specific machine. A common order is:
-
Bottom: Cutting Machine Platform
-
Layer 1: One clear cutting plate
-
Layer 2: Your piece of cardstock
-
Layer 3: Your cutting die, placed cutting-side down onto the cardstock.
-
Top: The second clear cutting plate.
Pro Tip: If the die isn’t cutting well, you might need a “shim” (an extra piece of cardstock) to add more pressure. Always check your machine’s manual first.
Step 2: Roll It Through
Crank the handle or press the button to run your perfectly layered sandwich through the machine. You should feel some resistance – that’s the pressure working!
Step 3: The Reveal
Carefully open the plates. You’ll see the die pressed into the paper. Use your tool pick or tweezers to gently pop the shaped paper out of the die. You now have a perfectly cut piece!
Step 4: Get Creative with Layers
This is where the fun begins! Use different colored cardstock and multiple dies to create layered effects. For example, cut a large scalloped circle from dark blue paper, a slightly smaller plain circle from light blue, and a sentiment label from white. Layering adds depth and professionalism to your card.
Step 5: Assemble Your Card
Now, assemble your masterpiece! Use double-sided tape or glue to adhere your die-cut layers onto your card base. Start with the largest shape at the bottom and build up.
Creative Tips for Stunning Cards
-
Die-Cut Embossing: Many thin metal dies can also emboss! After cutting, don’t remove the paper from the die. Instead, place it face-down on a soft surface (like a foam pad), cover it with a piece of paper, and rub firmly. This will create a beautiful raised border around your shape.
-
Inlaid Die-Cutting: Create a “puzzle” effect by cutting the same shape from two different colored papers and swapping the centers.
-
Create Backgrounds: Use small, simple dies (like hearts or stars) to cut multiple shapes from a panel of paper, then mount this panel onto your card base for a custom background.
Conclusion
With just a little practice, using cutting dies will become second nature. They open up a world of creative possibilities, saving you time and ensuring stunning, precise results. So, dust off your machine, grab your favorite dies, and start creating handmade cards that will impress everyone who receives them!
Happy Crafting!
Leave a Reply